Prerequisite:
Streaming software (e.g. OBS…).
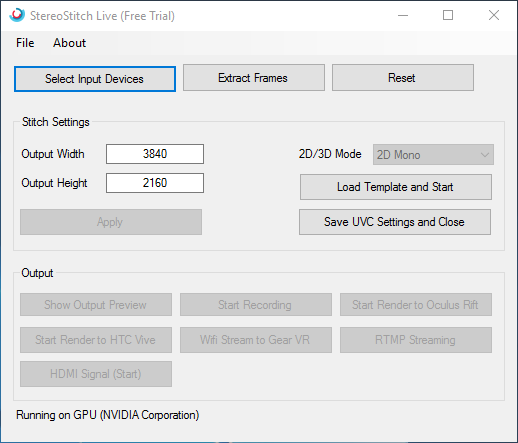
StereoStitch Live's workflow consists of the following steps:
1- Setup Cameras
Plug in the cameras to your PC and turn them on.
2- Run the App
Run StereoStitch Live application, this step should always be done after the first step, and in case you restarted or connected a new camera, you should close and reopen the application again in order to detect new connected camera(s).
3- Choose input devices
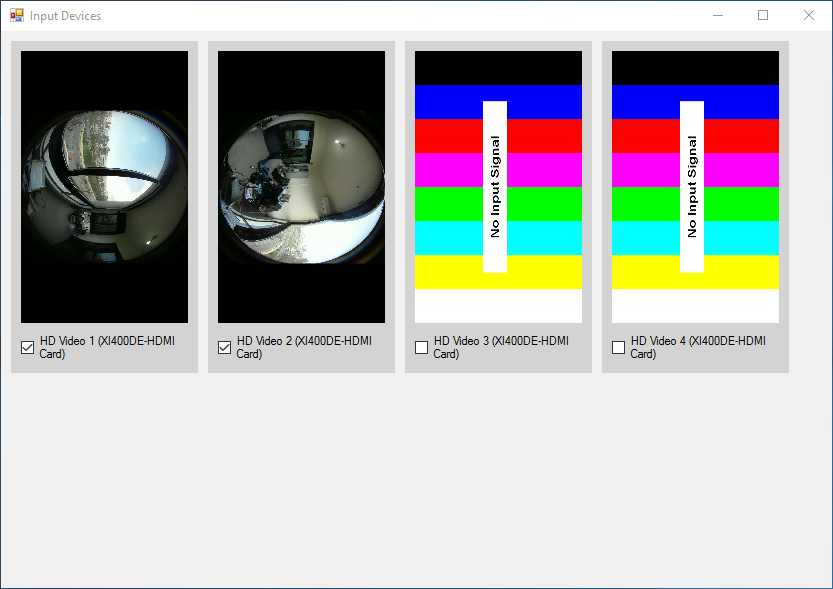
Press the “Select Input Devices” button and you will get a window that displays a preview for the connected cameras. Select which cameras you want to use and close the window. (Note that all the cameras will be unchecked by default).
4- Create Template
If you don’t already have a template, you can press “Extract Frames” to extract frames for the selected cameras and use the images to generate a template (.pts/.pto) file. You can read a tutorial on how to use PTGui in this Link.
5- Select Template
When you are done preparing the template file, choose the width and height of the output and press “Load Template and Start” to choose the template and start stitching.
6- View Output
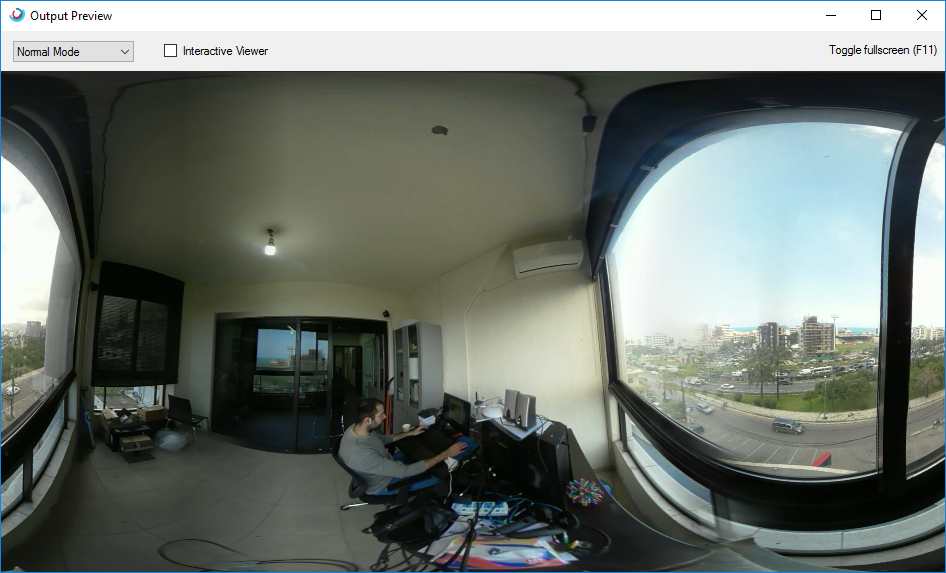
You can view the output in different ways:
a- On the local pc you are working on, by pressing “Show Output Preview”.
b- On the Oculus Rift connected to the PC, by pressing “Start Render to Oculus Rift”.
c- On the HTC Vive connected to the PC, by pressing “Start Render to HTC Vive”.
d- Through third-party streaming apps (ex: OBS)
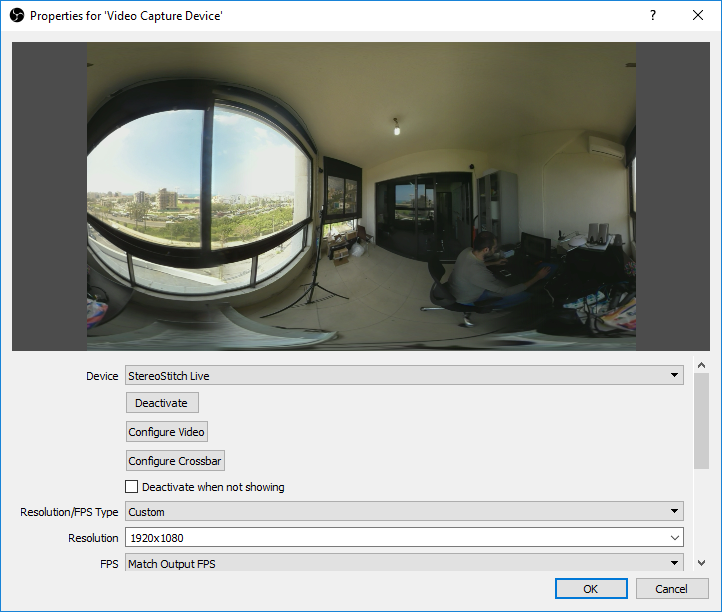
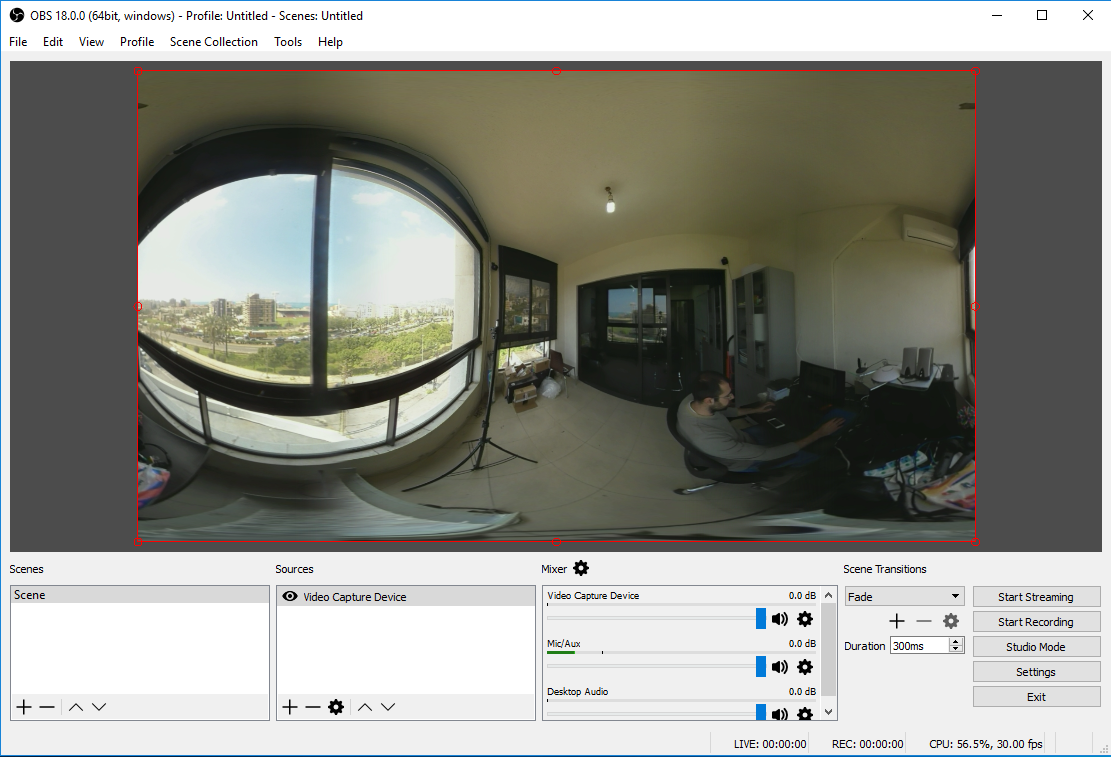
You can stream online to Youtube or Facebook using any streaming software, by pressing on “Save UVC Settings and Close”, that will close StereoStitch Live application and then you can start the 3rd party streaming application. (you can’t view the output on both applications at the same time).
7- You can press reset and change the stitch settings anytime.